
Mastering Wordflo with Shortcuts
🧑🎓 This page will teach you about Wordflo's shortcuts and show you how to master the editing process in record time.
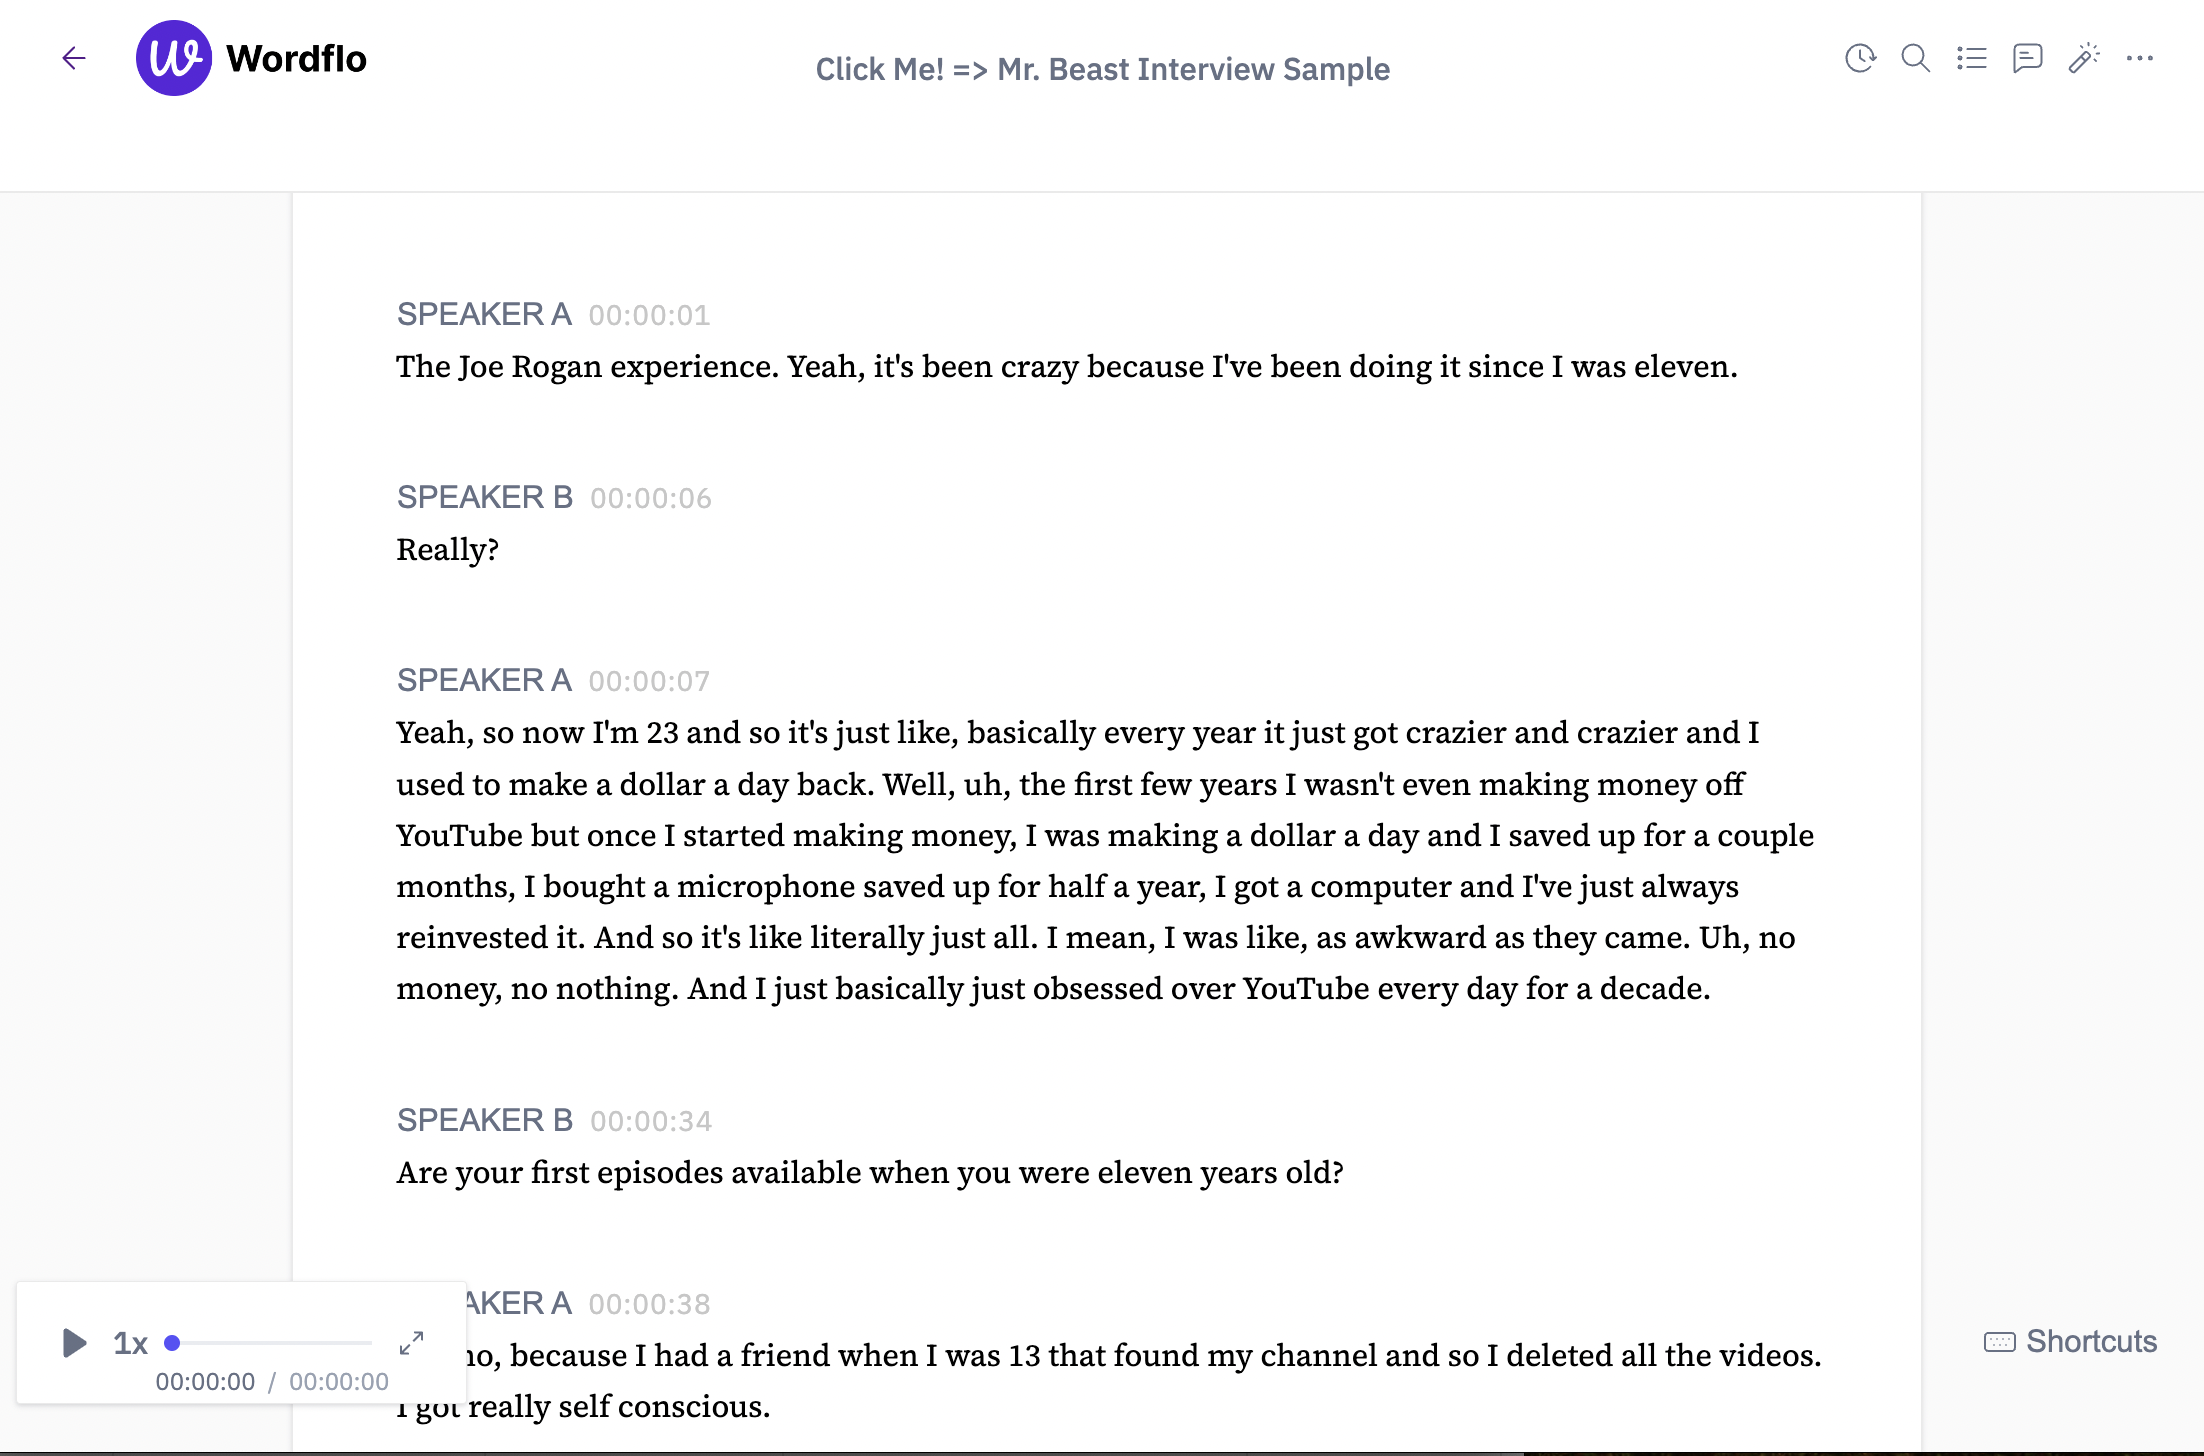
After selecting your transcript, you will enter your transcript view to being editing. In the top right corner, you will see options to view your version History, Search through your transcript for specific words or phrases with options to Replace, view the Table of contents, View all comments, view the available Overlays, and More – where you have options to Export transcript, view Version history, Show timestamps, and view your Settings.
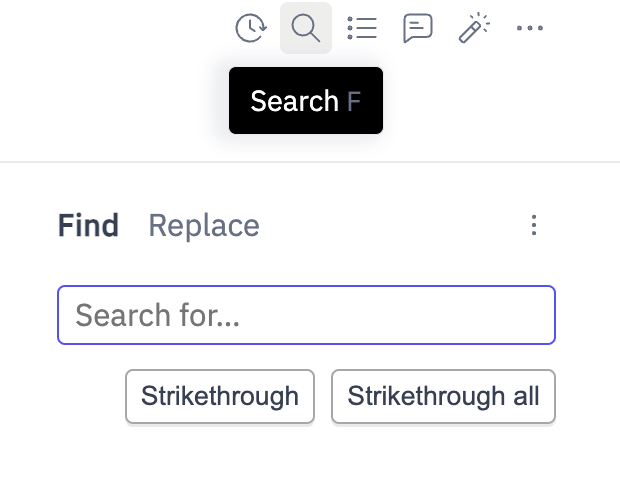
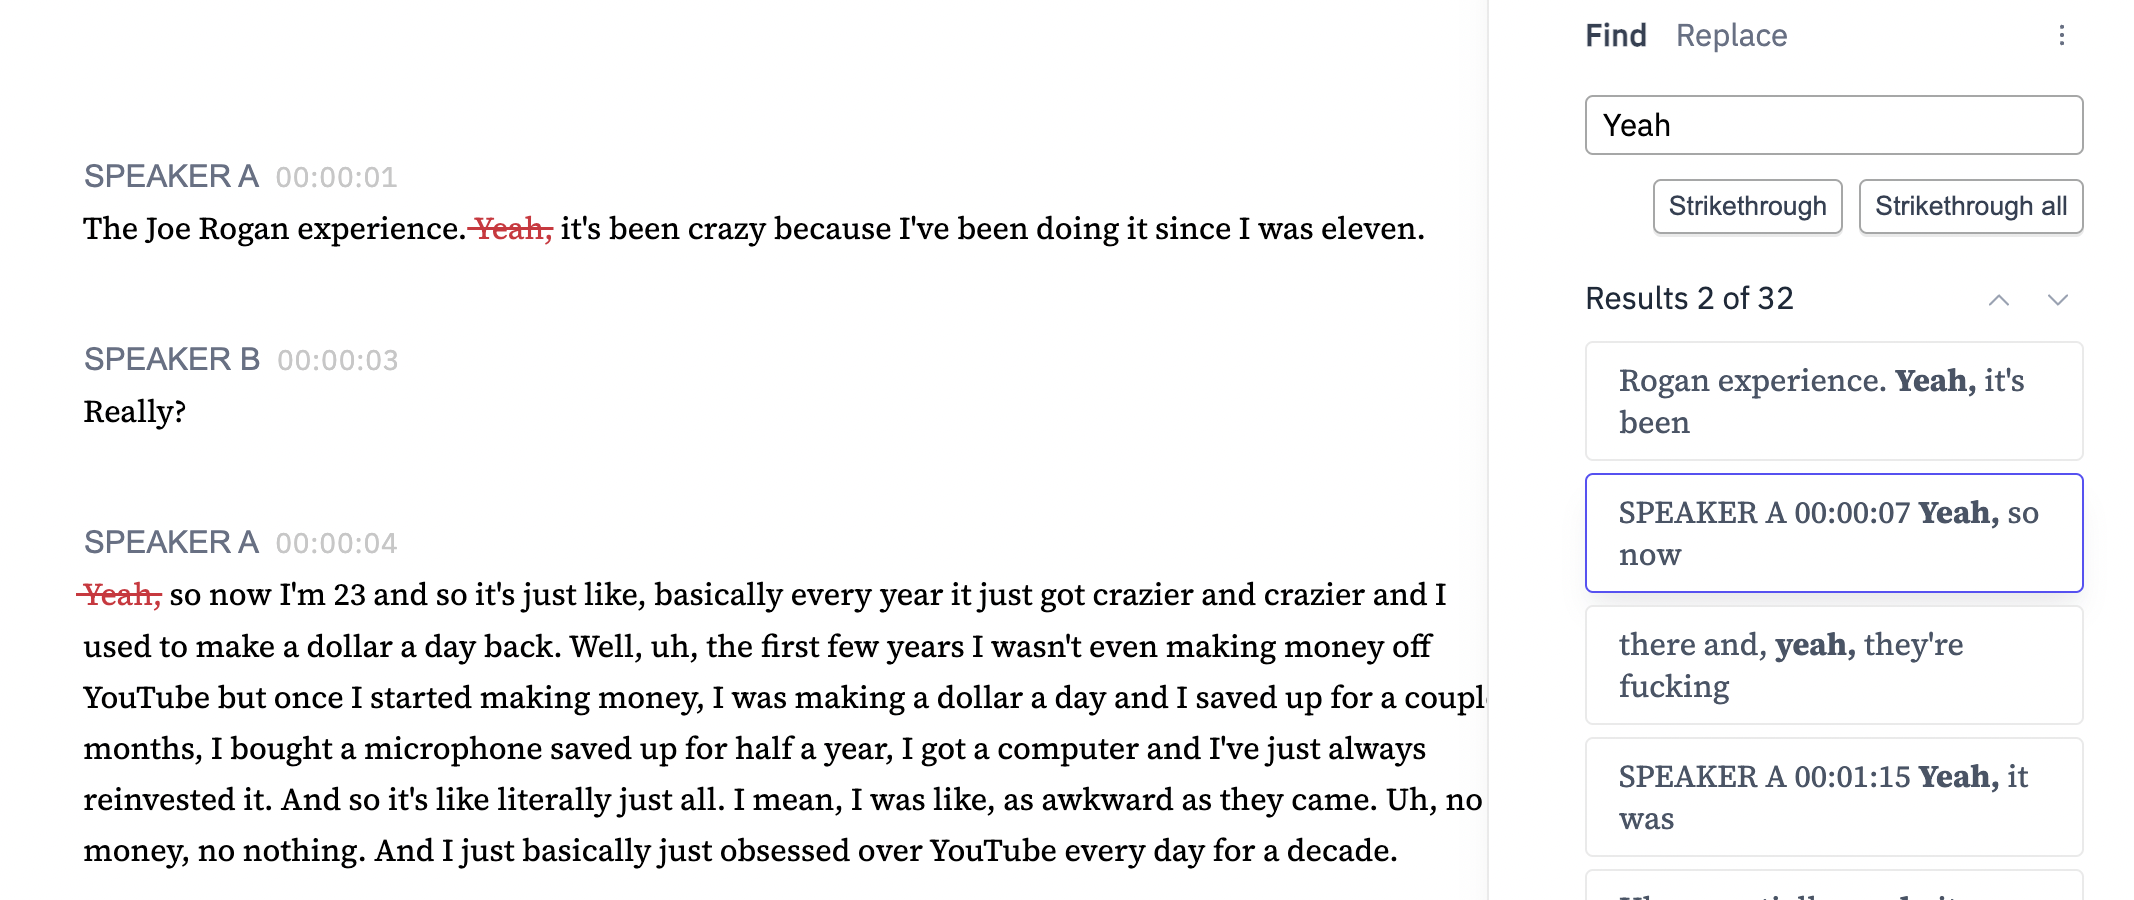
Inside the Search option, you can enter a word to find within the transcript, and have the option to Strikethrough, Strikethrough all, Replace, or Replace all occurrences of the word as pictured below.
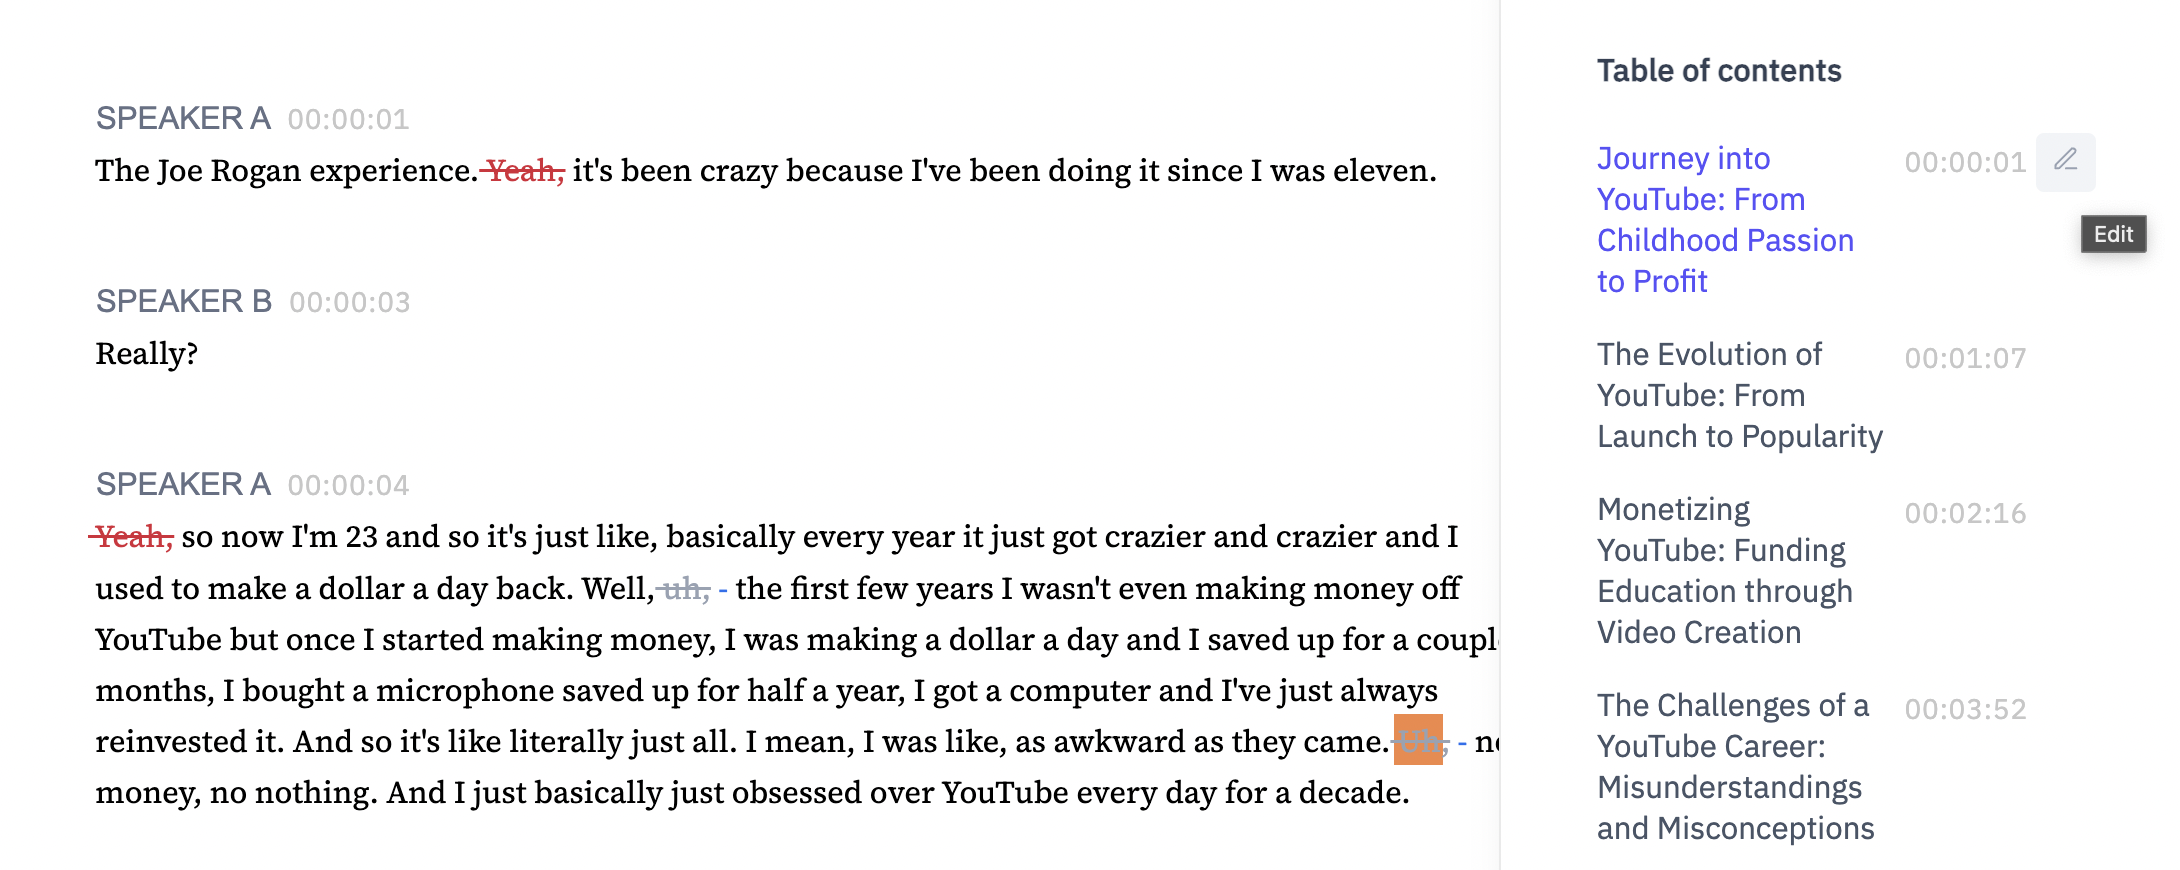
In selecting the Table of contents, you will see that Wordflo has auto-generated your transcript into smart sections. As you move through and edit the transcript, the Table of contents will automatically update the sections for you (including the timestamps). You have the option to Rename the section in the pencil button next to the Timestamp.
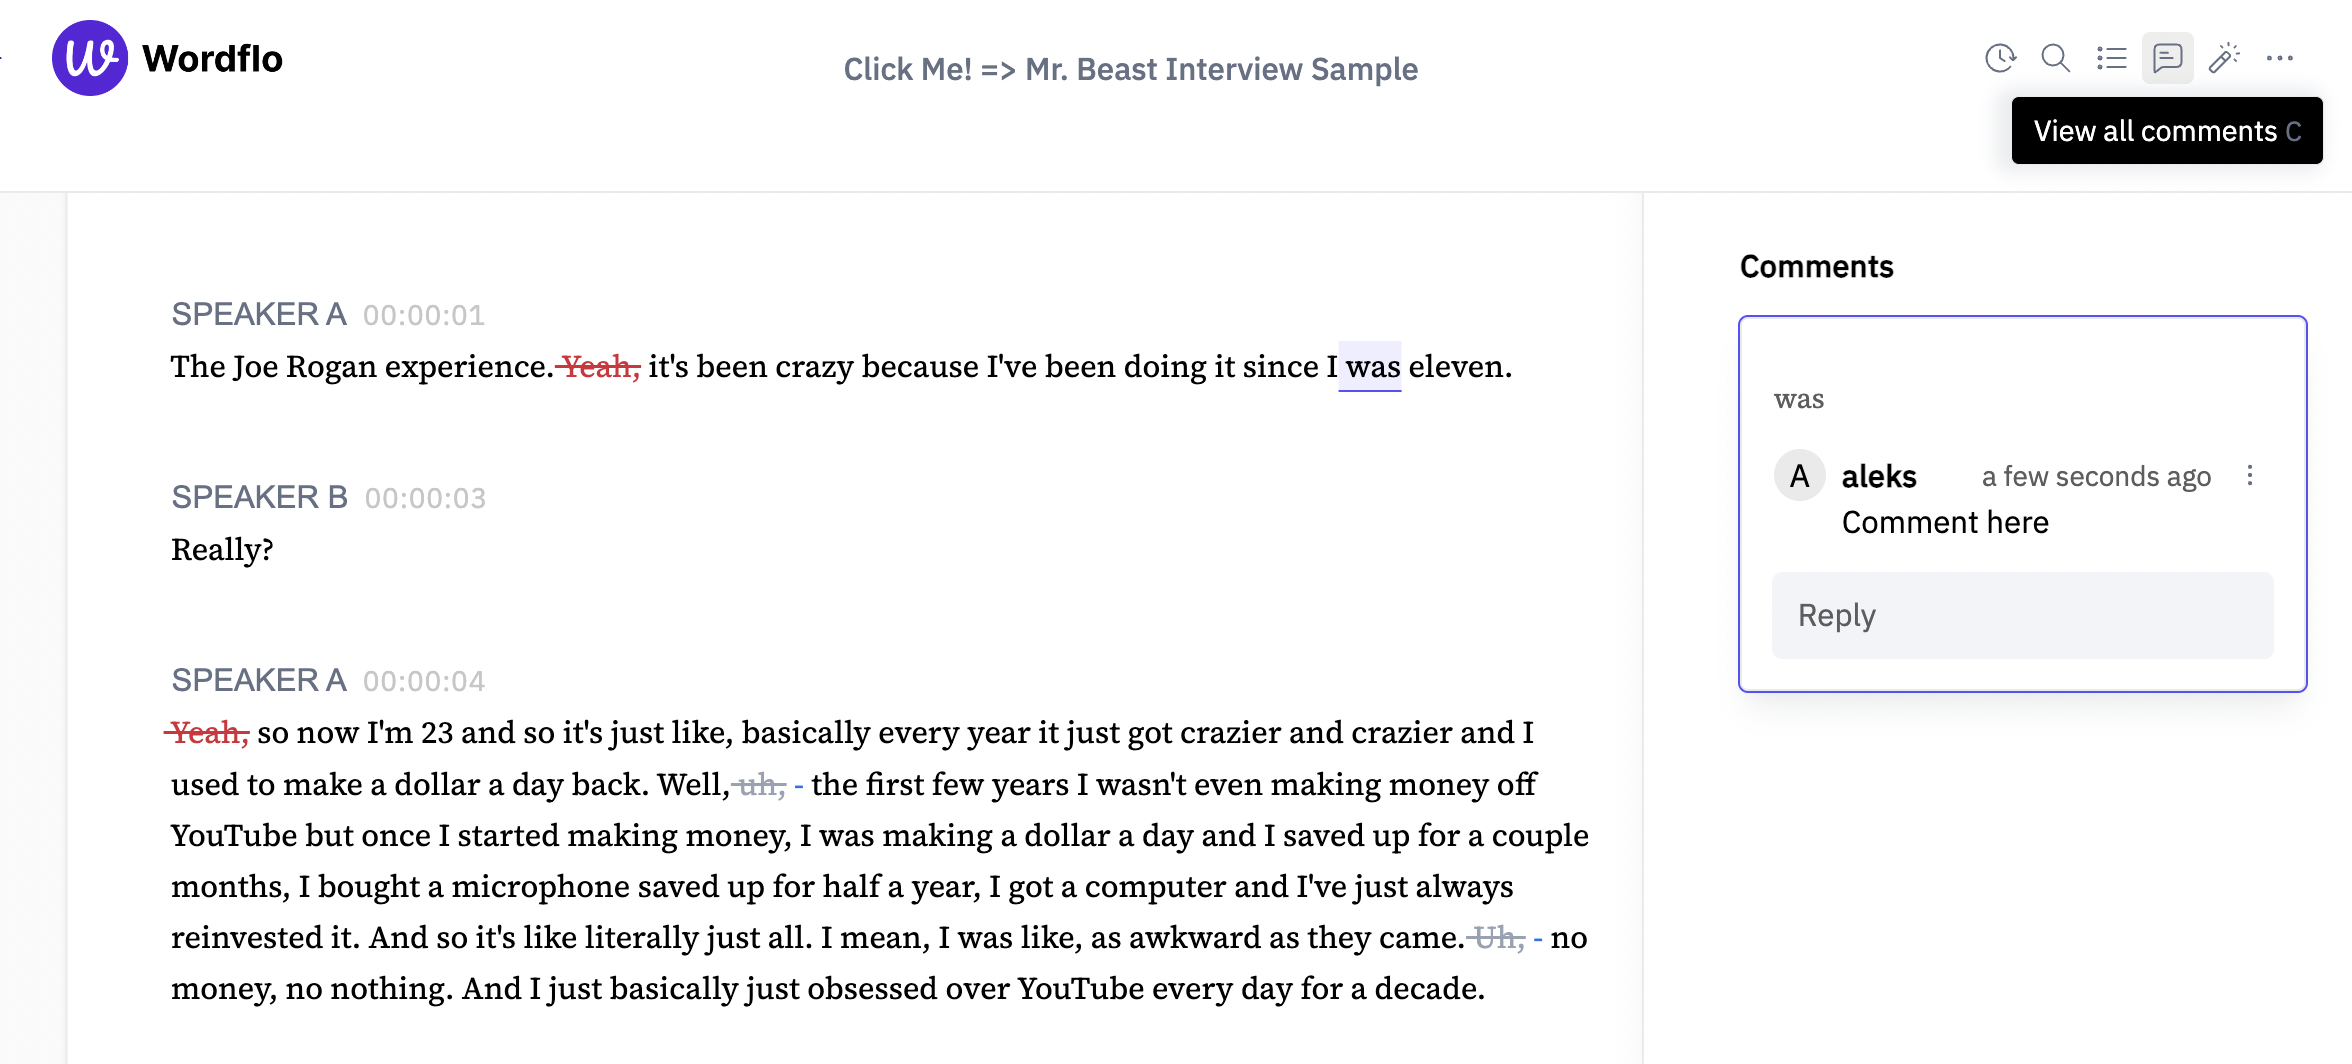
Inside the text, you have the option to select a word or phrase and leave a comment. When you select the Comment button, then you will be able to view all comments made inside the transcript.
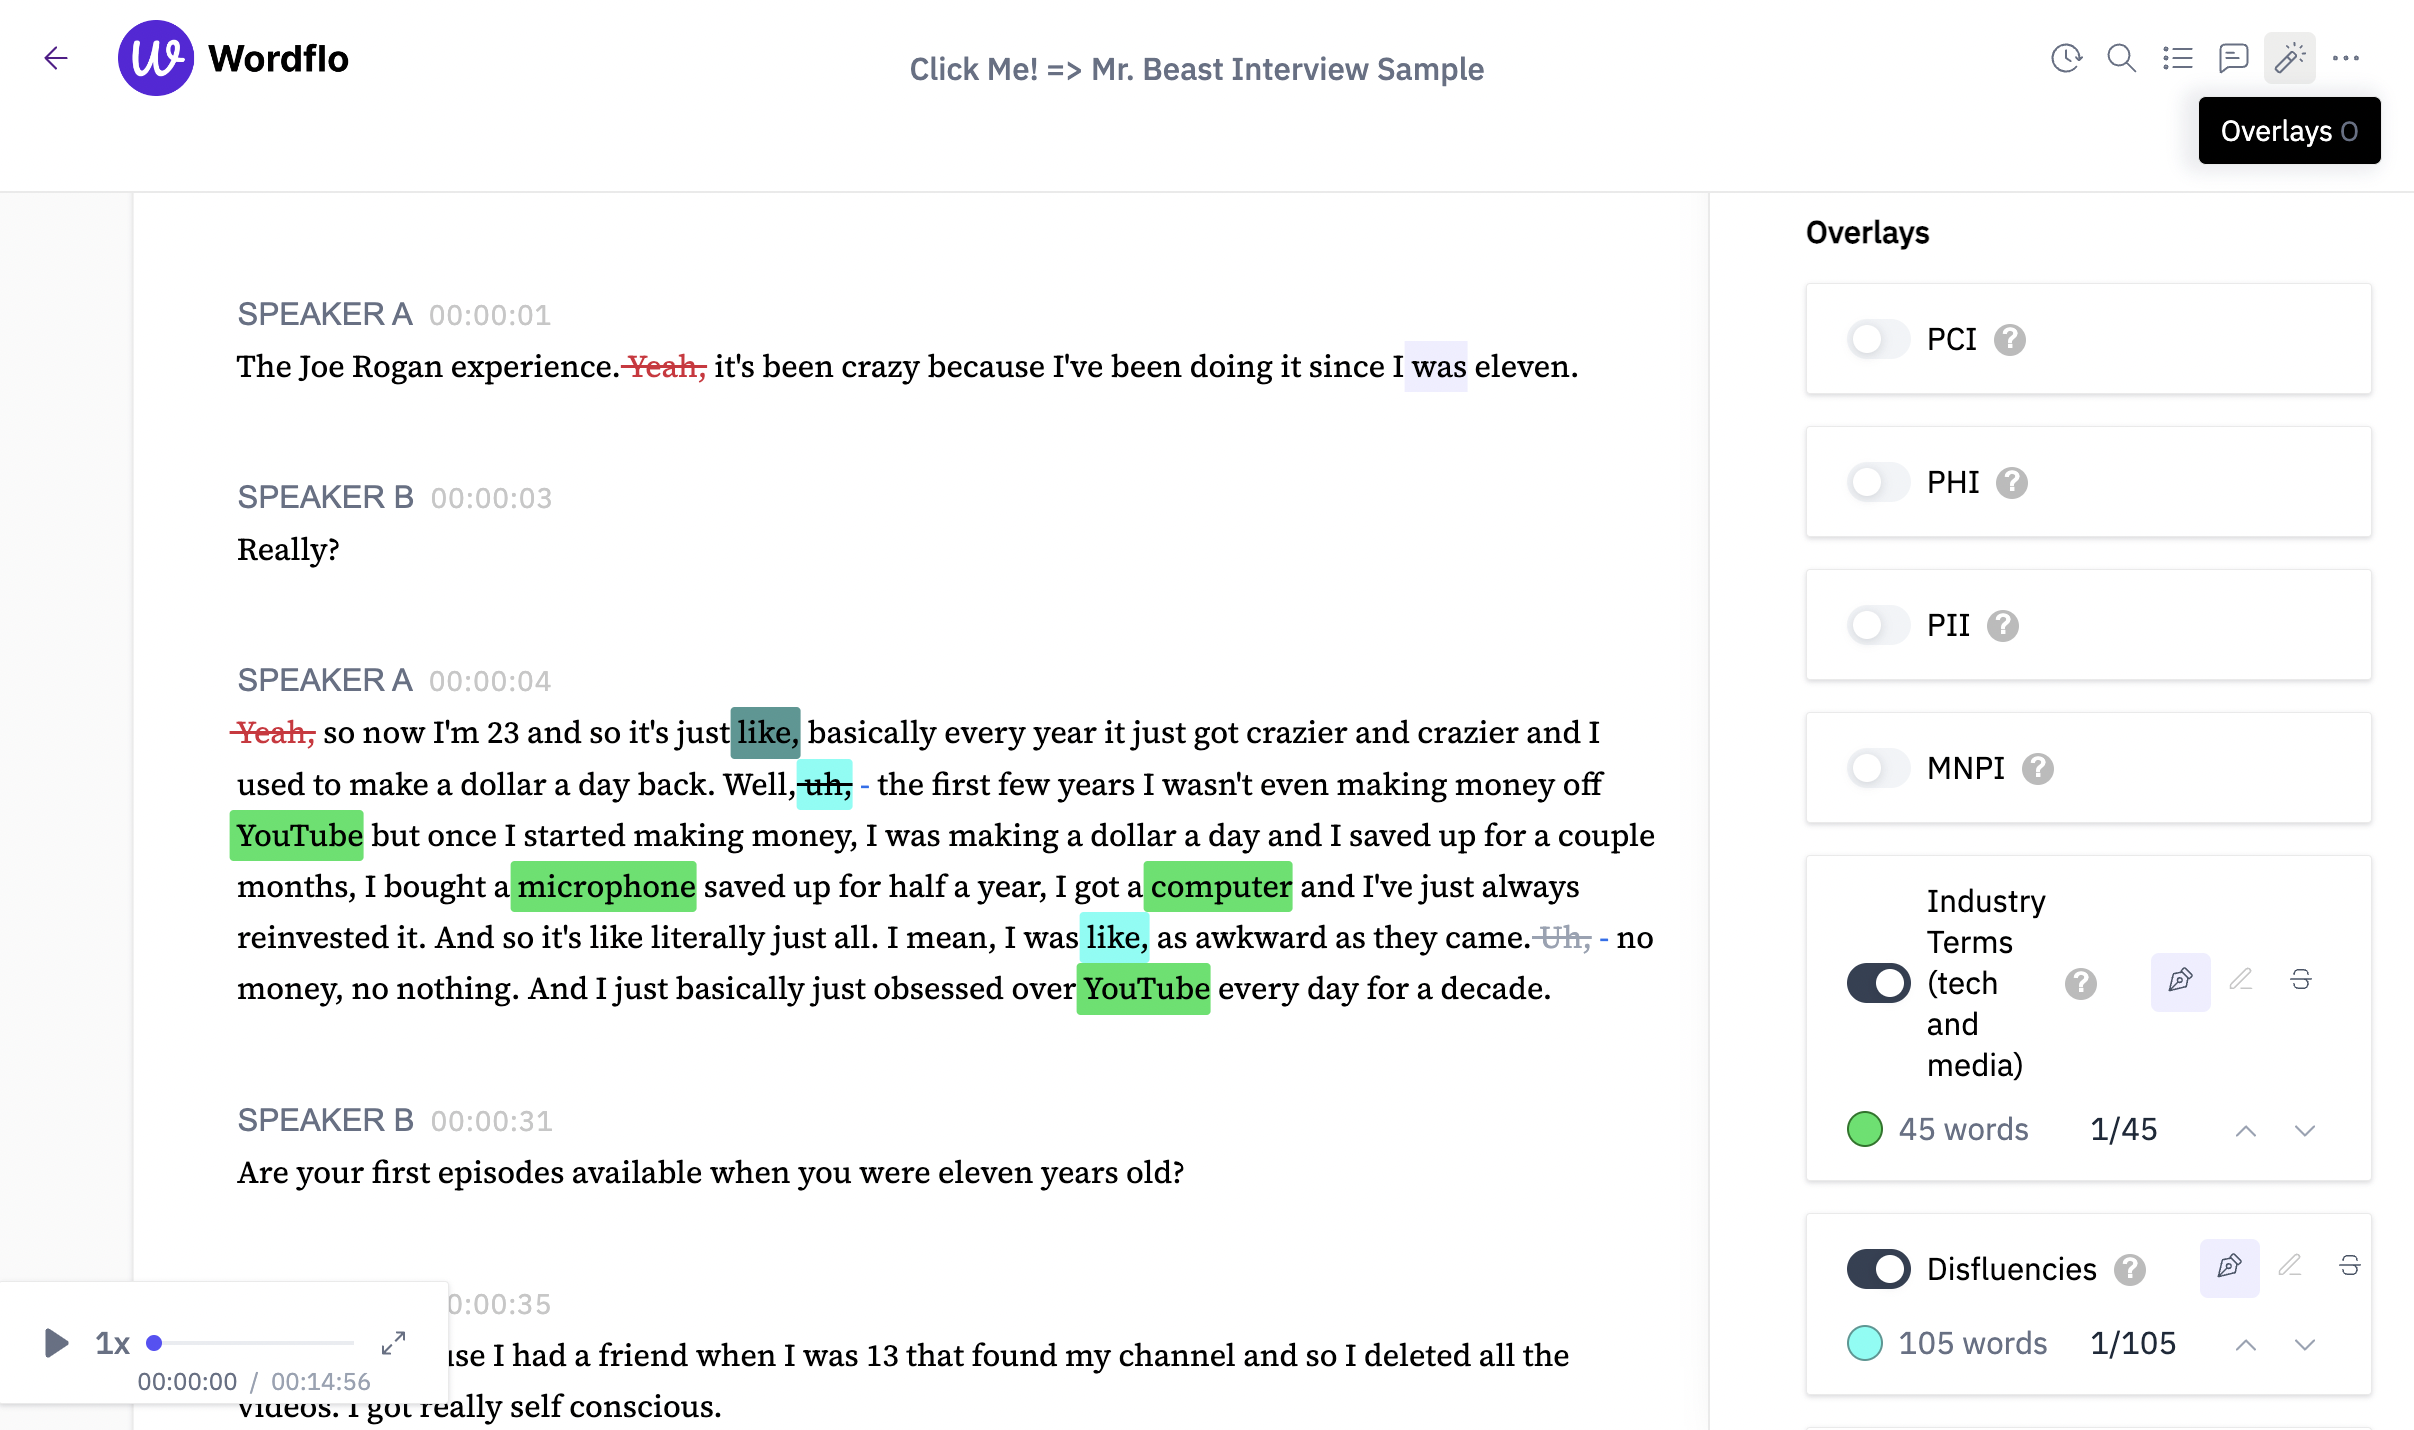
The Overlays option allows the user to begin smart editing their transcript. There are 7 overlays that the user can select to begin striking out, deleting, or replacing information inside the text. Once you select the desired Overlay, Wordflo will highlight the relevant terms affiliated with the Overlay for your review and allow the user to view how many times the term is used inside the text. Beside each Overlay option, you will find a ? tooltip button to explain the details of each Overlay.
Updated 9 months ago